
Posted By: Dave Wearing | Posted On: September 4, 2018
Squaring your vise to your CNC mill table is an important set-up procedure to assure precise part manufacturing. Here is an easy, proper and quick way to mount your vise and square it to the table:
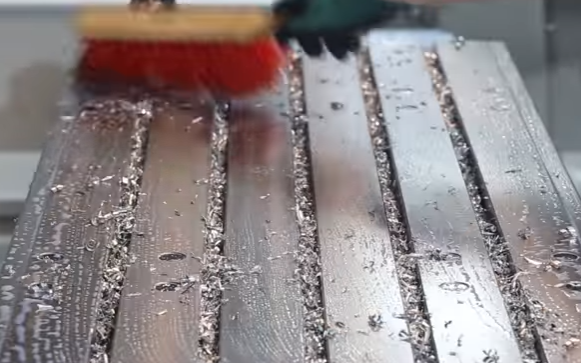
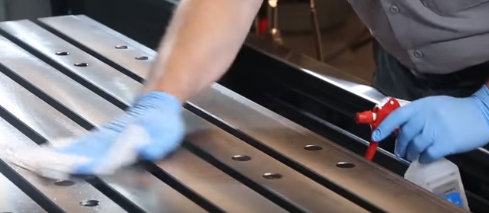
Clear Away Chips
Before you mount a vise to your table, you will need to clear away all the chips. This can be done with either a brush or a vacuum.
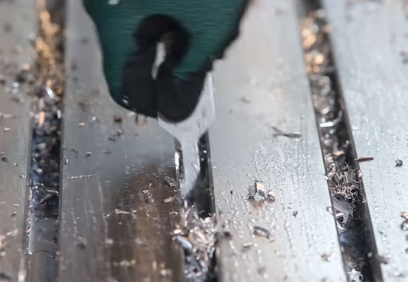
Make sure to clean the T-slots too:
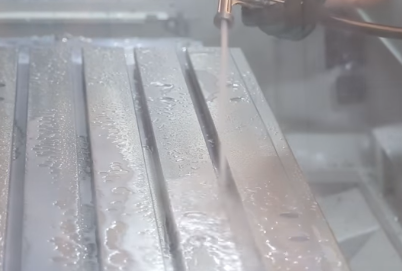
Finish up with either a quick wash down and/or wipe with a clean shop towel:
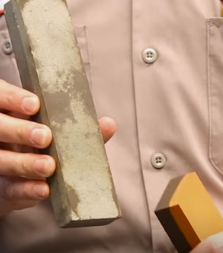
Clean the Table with a Stone
The next step is to stone the table top and bottom of the vise with a fine stone. A good, all-around stone is an oil filled, aluminum oxide stone. These are usually a combination stone that has a rough side and a fine side.
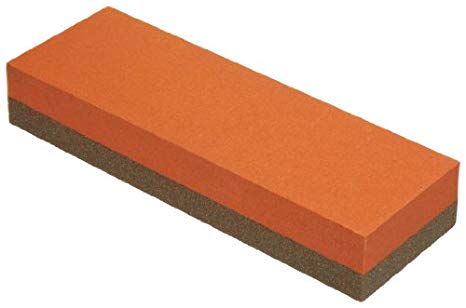
Since all you will want to do is check for nicks and high spots on the table, the fine side will work best for this step. Make sure to clean the table with a solvent or alcohol to remove any gunk or oil before you start to stone.
Any oily residue will attach to and load up your stone.
Apply Rust Preventative
The next step is to coat the table top and bottom of the vise with a light coat of rust preventative.
This can be sprayed on or wiped on with a shop towel. You are now ready to slide the vise on the table.

Bolt the Vise to the Table
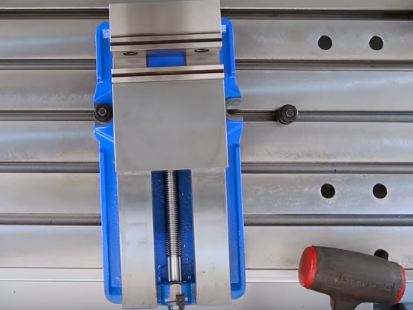
Position the vise on the table in line with the table T-slots and bolt slots on each side of the vise.

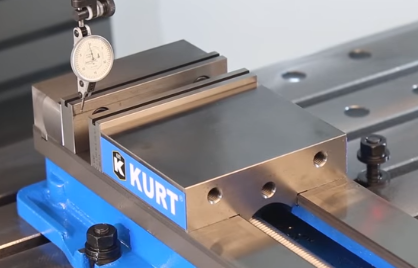
Secure the vise to the table with two bolts and lightly snug both. You are now ready to square the vise to the table with an indicator.
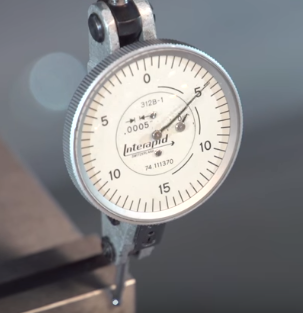
Position your indicator in the spindle or magnetic base. Remove the right side bolt to create a pivot point.
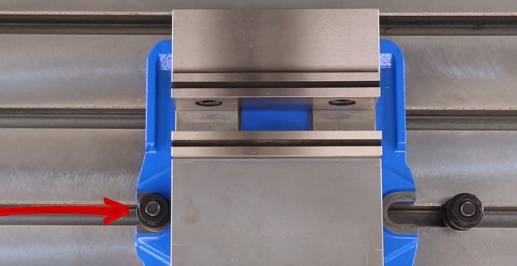
Always indicate the hard jaw side of the vise close to the pivot point and with no more than one revolution, jog the table in the “Y” axis to bring the indicator to zero.
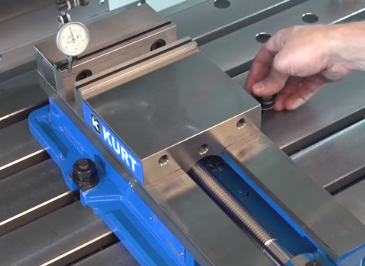
Next, jog the “X” axis to the other side of the vise. Tap the vise with a plastic or lead hammer so as not to damage the vise and bring the indicator to zero.
At this point, jog the “X” axis back to the pivot point side and jog the “Y” axis to reset to zero your indicator. Now jog the “X” axis back across the vise. If the vise is still off, tap the vise to bring the indicator to zero. Jog the “X” axis back to the pivot point side and if it is still off, jog the “Y” axis to re-zero the indicator. At this point you should be close to square with the table. Jog the indicator back to the opposite end and if necessary tap the vise to zero on the indicator. One last jog in the “X” axis back and forth across the jaw to double check and then slide the second bolt back in and snug it down.
Jog the “X” axis across the face of the jaw and give it one more check, then tighten down both bolts.
The first couple times, you may need to do five or more sweeps across the face of the jaw to square the vise to the table. With practice, you will be able to do it in less than three with this method that will work 100% of the time.
These and other “Pro-Tips” are brought to you by the experienced staff at Southern Fabricating Machinery Sales, Inc.—where we are more than just sales.

dave@southernfabsales.com | 813-444-4555 x108


